Showing posts with label Refashion. Show all posts

Wednesday, June 15, 2011

Flower Tee Refashion

I needed a few extra tee shirts, so I decided to try to refashion a basic tee that I found on sale at Wal-mart.  I have to confess that because I teach music lessons every day, my wardrobe leans more toward the semi-dressy, so when I want something comfy and casual I'm don't have a lot of options.

First I purchased two shirts, one in the size I wanted to wear, and an extra-large shirt (the multi-colored one) for fabric.

I really liked the multicolored shirt, because it will match with any solid tee and it's got lovely color layerings, along with a subtle silver shade running through it.

I'm not going to post another tutorial because there are so many excellent ones already out there.  Basically I cut out two layers of odd circles or hearts, pinched the center and sewed through the two layers with needle and thread, and then sewed the "flower" onto the shirt.

I'm very happy with the way the flower part came out, but I'm not overly thrilled with the top as a whole, mostly because I don't care for the fit of the tee.  It's a box-shaped top, instead of a more fitted hourglass top that I prefer, but since the whole thing cost me under $10 and the point of this tee is to have something casual anyway, I figure it fits its purpose.

Saturday, October 16, 2010

Pajama Pants Reduction

When I pulled out my winter clothes, I found that several things no longer fit me, as I've lost a little weight since last year.  I decided to refashion one of the items, a pair of comfy fleece pajama pants, into a pair that would fit little Miss Boo.

First, I put a pair of Miss Boo's pants on top of mine to use as a guide.  I then cut around her pants, leaving several inches higher than the waist and longer on the bottoms for a 1 inch seam allowances, as well as 1/2 inch around the sides.

Although fleece fabric doesn't usually run, I sewed the side seams together with a regular straight stitch and then a reinforcing zig-zag stitch.

I measured down about 1 1/2 inches from the top waistline, and sewed two button holes (which look oddly creepy in this photo).

Even in better lighting it still looks creepy.

Once your button holes are sewn, fold the top edge down so that a "tube" is created. 

Using the ribbon from the original over-sized pants, thread it through the buttonholes.  I find that putting a safety pin on one end and working it though is fairly quick and easy.

At the center back, sewn down across the ribbon so that it can't be pulled all the way through.  (Make sure the ribbon is even on both ends of the eyelet holes first).


Hem the bottom of the legs to the desired length, and that's it!  Quick and easy, and ready for the fashionista in your household!


Wednesday, August 18, 2010

Camisole Refashion and Tutorial


To make this top, you'll need:
1 camisole in your actual size
1 matching camisole in your size or larger (the more fabric, the better!)
1/4 yard of coordinating fabric; something gauzy is rather nice, for the drape
matching thread and sewing needle
Cut several strips of fabric and fold in half lengthwise. I like big rosettes, so I cut my biggest strips about 5 inches wide and about 2 1/2 feet long, and (keeping the length the same for each rosette) went down an inch or so from there for the other rosettes.
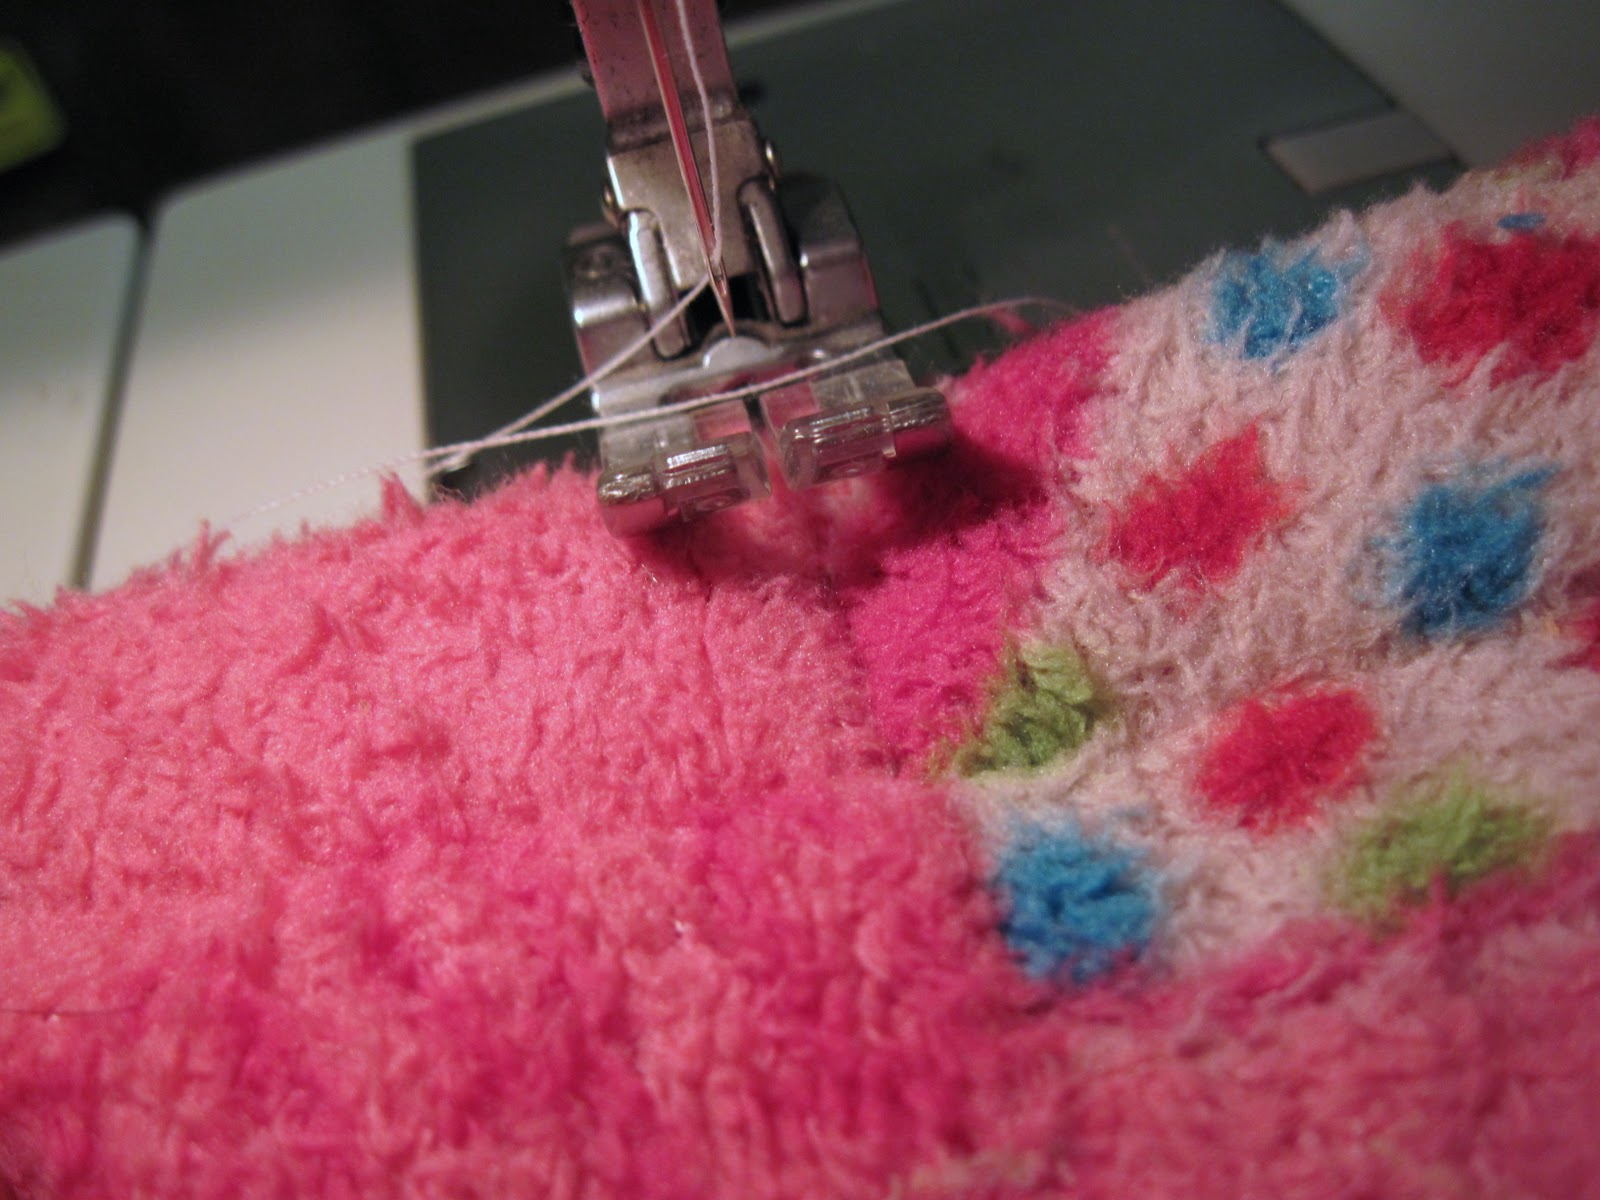
On the open cut edge, sew a long running stitch and pull the threads to gently gather the fabric. The tighter the gather, the more "bunched-looking" the fabric.
Keeping the sewn ends on the inside of the flower, start turning the fabric and also giving the fabric a twist every so often.
With your needle and thread, sew through the layers on the back of the rosette to hold it together. As the rosette gets thicker I find a thimble helps with getting the needle through the fabric.
Once your rosette is to your liking, sew a pearl or button into the center of the rosette and knot off the thread.

Make however many rosettes you want, in differing sizes, and also make one strip of gathered fabric from the extra camisole. In an "S" shape, sew the gathered fabric onto the camisole that's in your size.
With the needle and thread start sewing the rosettes on top of the "S", letting the ruffles peek up through the rosettes.
I thought my shoulder corsage of roses looked a bit heavy, so I cut a 1 inch strip of fabric from the extra camisole and gathered it down the center. Then, I arranged it under the corsage section and twirled it towards the center of the camisole.


Saturday, July 10, 2010

Confession + Lace Choker Tutorial

I have a confession.

I like the Twilight movies.

What's worse, I don't really think they're well written (sorry Esther!), nor are the movies terribly well acted (sorry Lynn!).

I still like them. I justify this by arguing that since I don't like ice cream or candy, my Twilight addiction is like most people's addiction for a yummy treat that has no nutritional value.
(Before you despise me with thine sneering mien, remember that despite the recession, ice cream sales haven't plummeted.)

So, anyway, I was watching Eclipse in the theaters, when I noticed the cutest outfit that Alice was wearing. Actually, it wasn't so much the outfit itself as the choker.
So, I decided to make one for myself, simply because I think chokers are cute and shabby chic. (Don't worry, I'm not having any sudden irrational urges to bite someone. Smack someone, yes; bite, no.)
What do you think? Too skanky? Too goth?
It was so easy to make! I just sewed a button onto one length of lace,
and (after measuring it around my neck to get the correct length) cut a hole into the other end. Once I had it on my neck, I trimmed the edges to the same length.
I just had to make sure that my button fit through the button hole, and that was it!

Sunday, April 18, 2010

Rosette Headband


~1 Rosette Headband - finished price $.35~

I had about a yard of black satin ribbon left from refashioning my black shoes, so I decided to use it to make a hair band.

After making the rosette, I hot glued it onto a hair band that I'd bought from the Dollar Tree. (5 for a dollar - great bargain!).
I used a small square of ribbon to glue on the underside of the hair band to help hold the rosette onto the thin head band, and to ensure the rosette didn't feel lumpy on my head. I might have lumps in my head, but none on, thank you very much. One must have one's limits, after all.

It still didn't seem quite right to me with just the black rosette, so I rummaged through my small collection of beading bits and pieces and found a short length of a necklace I had taken apart for another project. Perfect!
Using some needle and thread I sewed the necklace bits onto a small pile in the center of the rosette.
I'm so happy with the way this came out! Best yet, the headband, along with being cheap, is flexible. I don't care for plastic headbands because I can't adjust them if they're too tight, but these little metal ones can hold their shape!

Friday, April 16, 2010

Knee-High Tights Refashion

~~~~~ It's not too late to enter my giveaway!

I really like reading the blog Ruffles and Stuff where I've gotten so many great ideas and refashion tips.

For instance, after seeing her post about too-small tights for little girls, I decided to do the same.
These are some adorable tights from Children's Place that were way too small for Miss Boo (these were 18 months and she's a 4T).
I simply cut off the leg portion of the tights at the highest point below the crotch, folded the "new" top under and sewed a 3/4" hem. Then, I ran some elastic through the hem and that was it! Cute little knee high socks to go with all the dresses and skirts she insists on wearing!
Ignore the bruised and battered knees. Princess she may be, but a klutzy one at that!